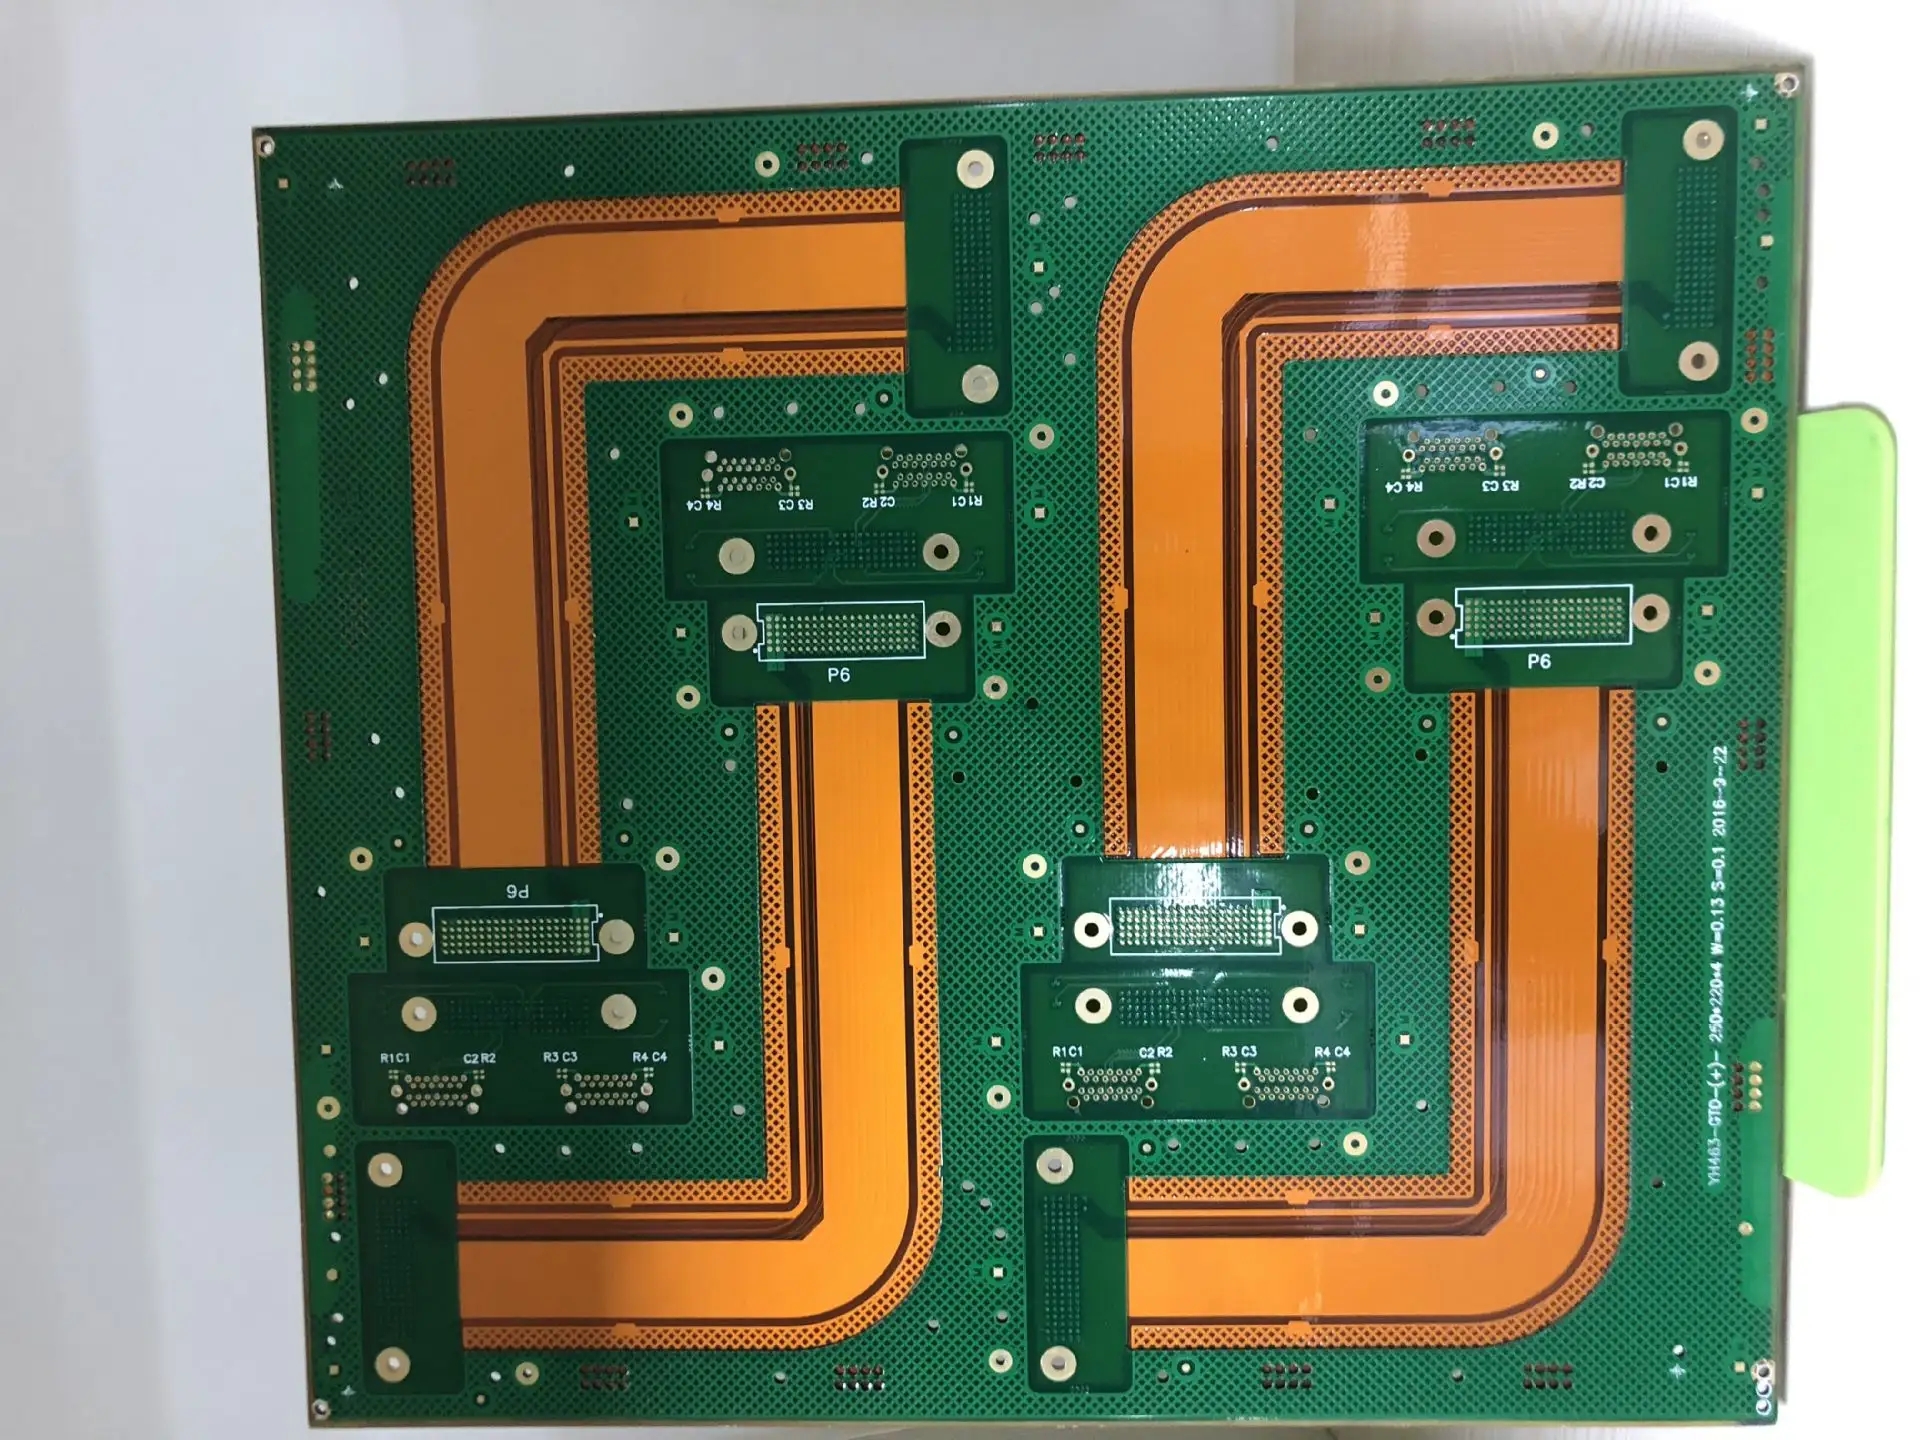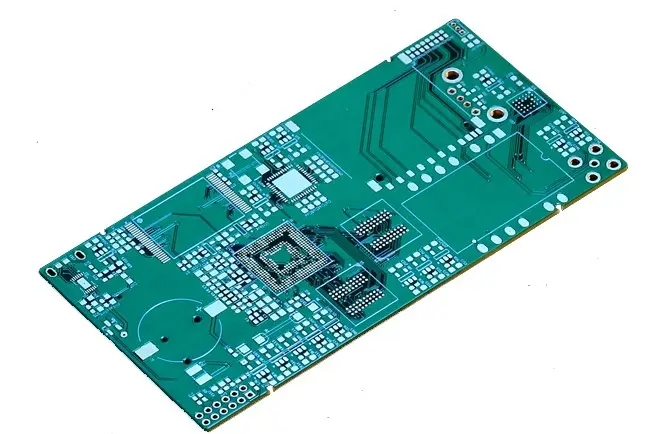
Explanation of PCB manufacturing component welding knowledge
circuit board manufacturing, circuit board design and PCBA processing manufacturers will explain the welding knowledge of circuit board manufacturing components
Use a hot air gun to disassemble and weld the heat shielding elements
1) : Dismantle components:
Generally, plastic components such as flat clamp, inline socket, socket, SIM card holder, battery contact, tail plug and so on are easy to deform when heated. If they are really damaged, they can be removed just like ordinary ICs. If they want to be removed, they need to be kept intact and handled carefully. There is a rotary air heating gun with uniform air volume and heat, which will not blow out plastic components. If an ordinary air gun is used, it can be considered to place the PCB board on the table, heat the front and back of the component from the bottom up with the air gun, transfer the heat to the top through the PCB board, and then remove it when the solder melts; You can also cover a waste chip of the same size on the heat proof element, then heat the edge of the chip with an air gun, and take down the plastic element after the soldering tin below melts.
2) : Components:
Arrange the bonding pads on the PCB board, dip a proper amount of flux on the component pins and place them near the bonding pads, so that they can also be heated. Use a hot air gun to heat the PCB board. When the solder on the board is bright, it indicates that it has melted. Quickly place the components on the bonding pad accurately. At this time, the air gun cannot stop moving and heating. Use tweezers to adjust the components and align them in a short time, and immediately evacuate the air gun. This method is also suitable for installing power amplifiers and power ICs with large heat dissipation area.
Some devices can be easily welded with a soldering iron (such as the SIM card holder), so do not use the air gun.
Three disassembly welding resistance capacitance triode and other small components
1) : Dismantle components:
1 Add an appropriate amount of rosin to the element, gently clamp the element with tweezers, move and heat the small element with a hot air gun (the same as removing and soldering IC), and remove the element when the tweezers feel that the soldering tin has melted.
2. Use a soldering iron to add some soldering tin on the element, subject to the solder joints on both sides of the element covered by the soldering tin, place the tip of the soldering iron flat on the side of the element, make the newly added soldering tin melt, and then remove the element. If the element is large, add more tin on the element solder joint, clamp the element with tweezers, and quickly heat the two solder joints successively with a soldering iron until both solder joints are in a melting state, then remove them.
2) : Components:
1 Add an appropriate amount of rosin to the element, gently clamp the element with tweezers to align the element with the solder joint, move the small element evenly with a hot air gun for heating, and release the tweezers after the soldering tin under the element melts. (You can also put the element in place and heat it. After the soldering tin is melted, you can touch the element with tweezers to make it aligned.)
2 Clamp the component gently with tweezers, and click each pin of the component with a soldering iron to weld it well. If there is less solder on the solder joint, a small tin bead can be placed on the tip of the soldering iron and added to the pin of the component.
IV. Use the hot air gun to disassemble and weld the shield:
1) : Remove the shield cover:
Clamp the PCB board with a clamp, clamp the shield with tweezers, heat the whole shield with a hot air gun, and lift it vertically after the solder is melted. Because the removal of the shield cover requires high temperature, other components on the PCB board will also become loose. When removing the shield cover, the main board cannot move, so as to avoid vibration and displacement of the components on the board. When removing the shield cover, it is necessary to lift it vertically, so as to avoid collision and displacement of the components in the shield cover. You can also lift up the three sides of the shield first, and then fold it back a few times after it cools down. Break the last side and take down the shield.
2) : Install shield cover:
Place the shielding cover on the PCB board, heat it along the periphery with the air gun, and wait until the solder melts. You can also spot weld several PCB boards with a soldering iron.
Five additional faulty welding elements:
1) : Re welding with air gun
Add a little rosin on the part of PCB to be soldered, and heat it evenly with an air gun until the solder on the part to be soldered dissolves, or gently touch the component suspected of faulty soldering with tweezers in the solder melting state to enhance the soldering effect.
2) : Soldering with electric soldering iron
It is used for soldering a small number of components. If the IC is soldered, a small amount of rosin can be added to the IC pin, and the smooth soldering iron can be used to solder along the pin one by one. Be sure to wipe the residual tin on the soldering iron head, otherwise the pin will be short circuited. If it is to add welding resistance, triode and other small components, directly dip the tip of the soldering iron in rosin and weld the component pin. Sometimes, in order to increase the welding strength, you can also add a little solder to the component pin. PCB manufacturing, PCB design and PCBA processing manufacturers will explain the welding knowledge of PCB manufacturing components.


